Dimpled the vertical stabilizer skin

May 3rd, 2005

This is my DRDT-2 dimpling tool. It's more expensive than the usual C-frame dimpler, but it rocks. It's easy to dimple one-handed, it's stress-free, and it makes no noise so I can dimple at night without waking up the neighbors.

I used the well-known trick of removing the blue plastic along the rivet lines using a wooden straightedge and a soldering iron, and it worked great.

Primed internal VS parts

May 1st, 2005

Lots of work but not many photos today. Final-drilled the vertical stabilizer ribs and spars, dimpled, countersunk the spar doubler, scuffed the surfaces, cleaned with acetone, and primed with GBP-988 self-etching primer. This is not the absolute most robust primer that's available, but it's certainly one of the easiest to apply and it seems fairly durable. It's also on Van's official list of recommended primers, which must count for something. I also know that lots and lots of RV's are flying around out there with this stuff in 'em, and I don't think any have rusted out of the sky yet. I figure this airplane will last at least as long as I'm interested in flying it.

Started construction of vertical stabilizer

April 30th, 2005

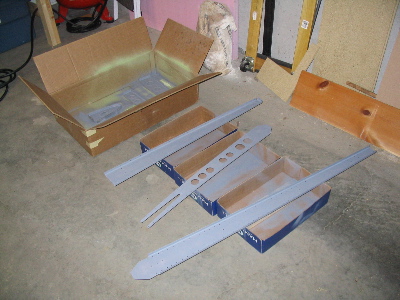
Today was a productive day. Spent a good long while unpacking the two big boxes and taking inventory. Everything was well packed and no parts were damaged or missing. Decided to start with the vertical stabilizer instead of, as the plans have you begin, on the horizontal. Not only is the VS a simpler piece to build, but the completed assembly is smaller and there's less to ruin when working the bugs out of the build process.

First real construction step was to debur all the internal VS parts, flute the ribs and straighten the flanges, and then cleco the VS skeleton together:

Next, on goes the VS skin, to be match-drilled with the underlying ribs and spars. At this point I've done maybe an hour of actual work, and already it's starting to look like something that might go on an airplane someday:

Here comes the first optional step – cutting the lightening holes in the rear spar doubler. Some people skip this step, but I decided to go for it. It only took an hour or so, and it saves a couple ounces. Yeah, it's only a couple ounces, but back in the tail at the end of that long lever arm, every little bit helps. Plus it looks kinda cool:

The fly cutter – or whirling implement of doom – is not my favorite tool to use. It's dangerous-looking and it makes a godawful noise when cutting through thick stock like this. But going slow, being careful, and using a lot of cutting fluid makes it come out okay. Some work with a Scotchbrite wheel afterwards and the lightening holes came out great.

Received empennage kit

April 29th, 2005

Today the project really gets started. Received the RV-7 empennage kit from Van's:

Pity I didn't have much time after work to take inventory or otherwise do anything with it!

Ordered the empennage kit

April 17th, 2005

Today, while at Sun-n-Fun, I filled out the forms, wrote the check, and ordered the empennage kit for the Van's RV-7!