Lots of work on the upper forward fuselage this time around. This area includes the forward top skin, the instrument panel, and all the hidden structure underneath that supports the panel and gives stiffness to the forward fuselage area.
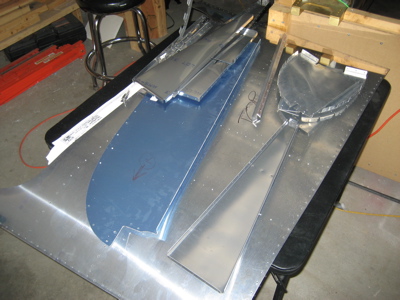
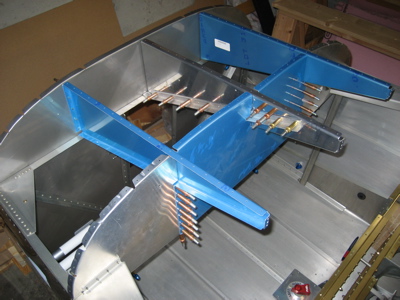
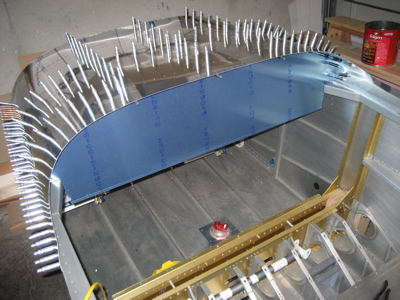
First I cut and fluted the F-7103C angles that attach the middle of the top edge of the panel to the skin. (You have to flute 'em to make them match the contour of the curved panel) Then I drilled the three holes per side that will eventually take a screw and nutplate to hold the panel on. The blue things in this photo that are perpindicular to the panel are the subpanel ribs, which I clecoed in place to get the F-7103C fit right.

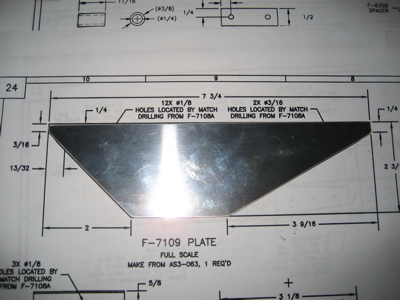
Next up is the F-7109 doubler plate. This was the only piece of 0.063" I could find in my stash that was big enough to make this guy out of, which seems like kind of a waste, but oh well. If I need another piece of comparable size I can always go up to Airparts.
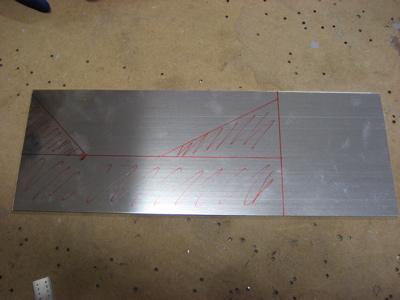
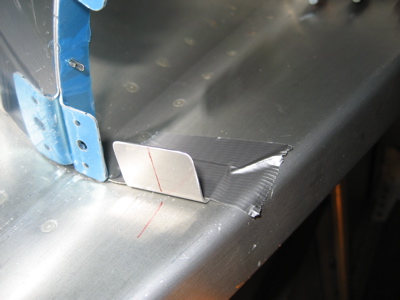
Here it is after being cut out and deburred.
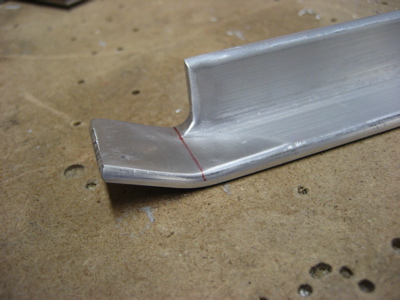
The F-7108B angle is next. I actually did have to go up to Airparts for this one, since I couldn't find any 3/4"x3/4"x1/8" 6061 angle in my stash anywhere. Perhaps I used it for something else. Anyway, you have to cut off part of one of the flanges (remembering to use a nice radius instead of a right angle) and then bend the remaining tab to match the angle in the plans.
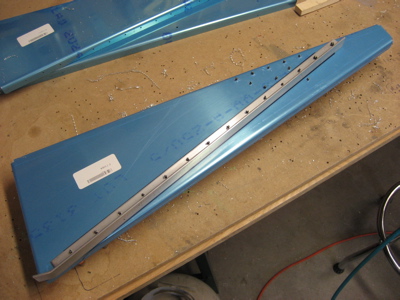
Here is is being match drilled to the F-7108A center subpanel rib. This was a bit fiddly to do, since you have to get everything clamped down so that a centerline drawn on the angle is lined up with the prepunched holes in the rib. It took a few iterations of clamping before I was happy with the alignment.
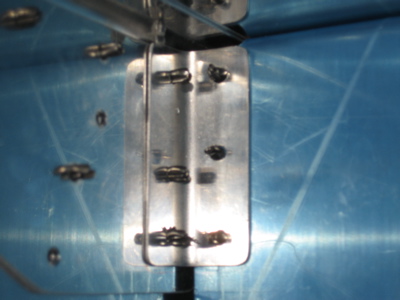
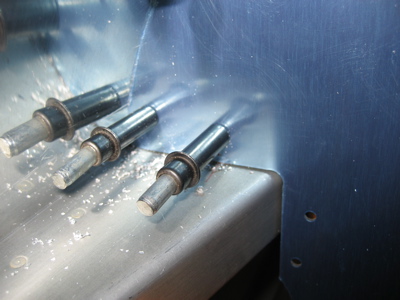
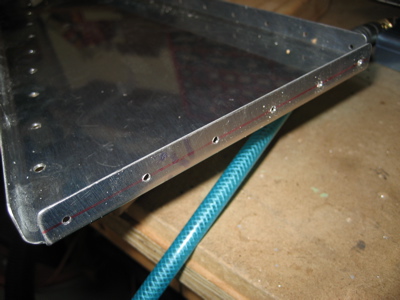
Then the F-7109 plate goes on the other side of the subpanel rib and is match drilled into the rib and angle. The purpose of all this extra material is to provide a nice beefy area for the roll bar brace to attach. The angle ties the roll bar into the firewall and the plate reinforces the rib where the bolt holes (gold clecoes here) go through. I drilled the bolt holes undersized to #14 right now, on the assumption that once the roll bar weldment is in place I'll be coming back through with a reamer to make them perfect.

The forward flanges on the F-7107 L/R subpanel ribs are prepunched, but the flange on F-7108A is not – nor is the firewall prepunched where the center rib attaches. The plans don't specifically say how or when to put holes here, but I figured I'll have to have some eventually, so I put some #40 holes here for now. I'll match drill to the firewall and size them up to #30 later on.
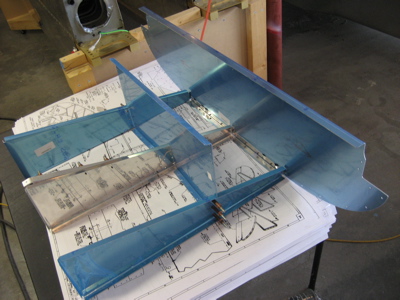
Here's the panel, center subpanel, and subpanel ribs clecoed together to check the fit. Not bad.
The F-7105B outboard subpanels, however, are a joke. The forming process leaves them more warped than the first track on One Hot Minute.

I attacked the offending pieces with hand seamer and fluting pliers, and was able to get them to be somewhat more planar. They still have some waviness, but it seems to mostly disappear when I cleco them to the rest of the structure. I'm hoping that when I rivet the whole thing together it will all be pulled into line.

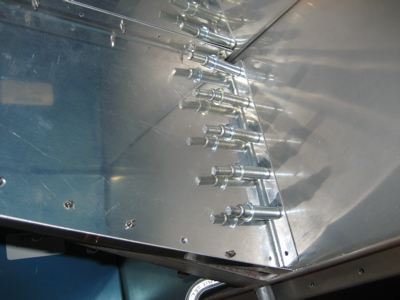
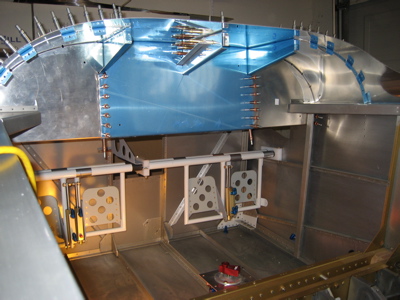
Here I've clecoed the upper forward structure (sans panel) into the fuselage. The outboard subpanel ribs are clecoed to the prepunched holes in the firewall, but the center rib is just floating free.
Got a little bit of interference between the starboard fuel vent line and the subpanel. No big deal, I can tweak the bend on that line when I install it for good.

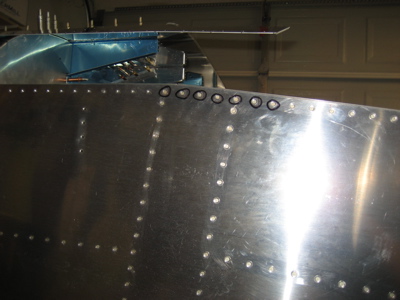
I had to drill out the circled rivets, since the upper forward skin for the slider has to attach there too. I think the quickbuilders got a little carried away, or else maybe they just automatically build the fuselage like you're going to build a tip-up canopy. (that would explain the presence of F-705G when it comes off the boat)
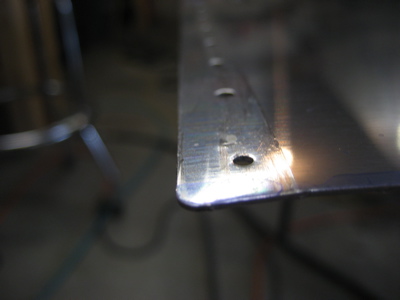
In this photo you can sort of see where I used the edge roller to put a downward (inward) bend in the left and right edges of the top skin. I've seen some RVs where the tension in the top skin tends to lift it up at the longitudinal rivet line, so I figured I'd head it off at the pass, so to speak.
I clecoed on the top skin to check the fit. You really have to grunt to get it to go around the curve, but everything seems to line up. I also clecoed in the F-7103B attach angles.
The panel also seems to fit okay.
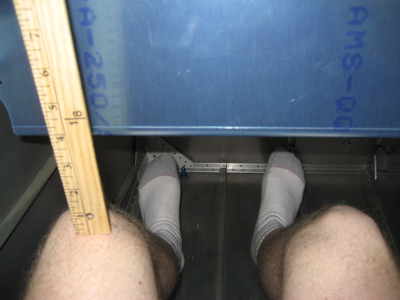
I still have to get under there and drill a bunch of miscellaneous brackets and so forth, which will be a painful yoga exercise.


