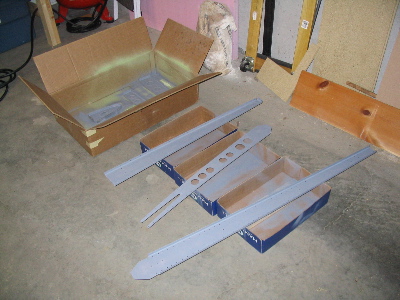
Today was a productive day. Spent a good long while unpacking the two big boxes and taking inventory. Everything was well packed and no parts were damaged or missing. Decided to start with the vertical stabilizer instead of, as the plans have you begin, on the horizontal. Not only is the VS a simpler piece to build, but the completed assembly is smaller and there's less to ruin when working the bugs out of the build process.
First real construction step was to debur all the internal VS parts, flute the ribs and straighten the flanges, and then cleco the VS skeleton together:

Next, on goes the VS skin, to be match-drilled with the underlying ribs and spars. At this point I've done maybe an hour of actual work, and already it's starting to look like something that might go on an airplane someday:


Here comes the first optional step – cutting the lightening holes in the rear spar doubler. Some people skip this step, but I decided to go for it. It only took an hour or so, and it saves a couple ounces. Yeah, it's only a couple ounces, but back in the tail at the end of that long lever arm, every little bit helps. Plus it looks kinda cool:

The fly cutter – or whirling implement of doom – is not my favorite tool to use. It's dangerous-looking and it makes a godawful noise when cutting through thick stock like this. But going slow, being careful, and using a lot of cutting fluid makes it come out okay. Some work with a Scotchbrite wheel afterwards and the lightening holes came out great.


