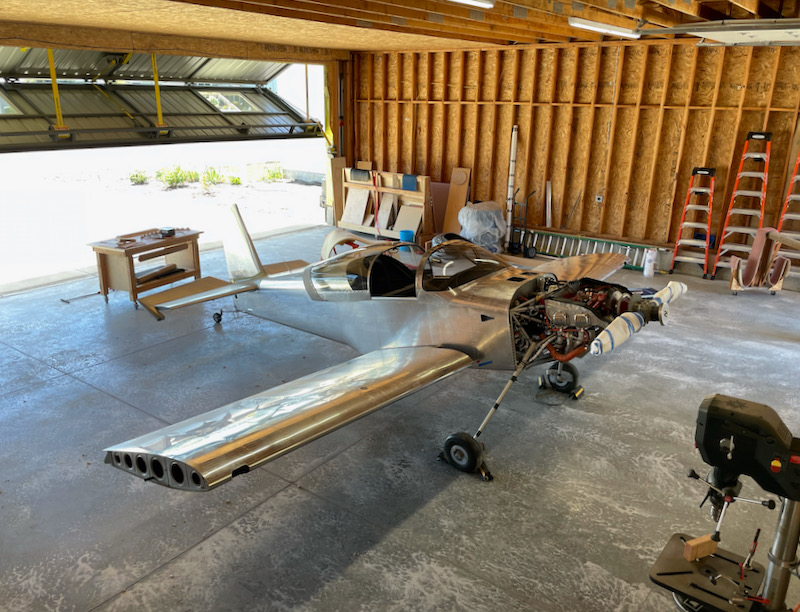
With all the remaining work on the wings completed satisfactorily, I summoned a friend to help me fit them to the fuselage. It was actually no big deal to mate the wings to the fuselage, although it's definitely a two-person job. After inserting the first wing spar into the center section, I climbed inside and drove in two 7/16" drift pins. Then we repeated the process for the other wing, and voila:

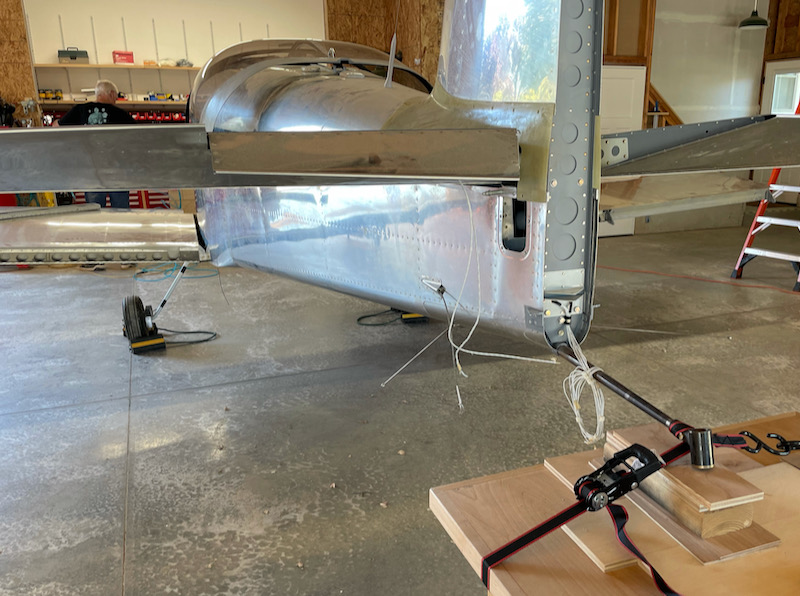
I removed the tailwheel and lifted the tail onto a table, adding wood shims underneath to level the fuselage at the longerons. Just for safety I strapped it all down, don't want to accidentally drop the tail on the ground.
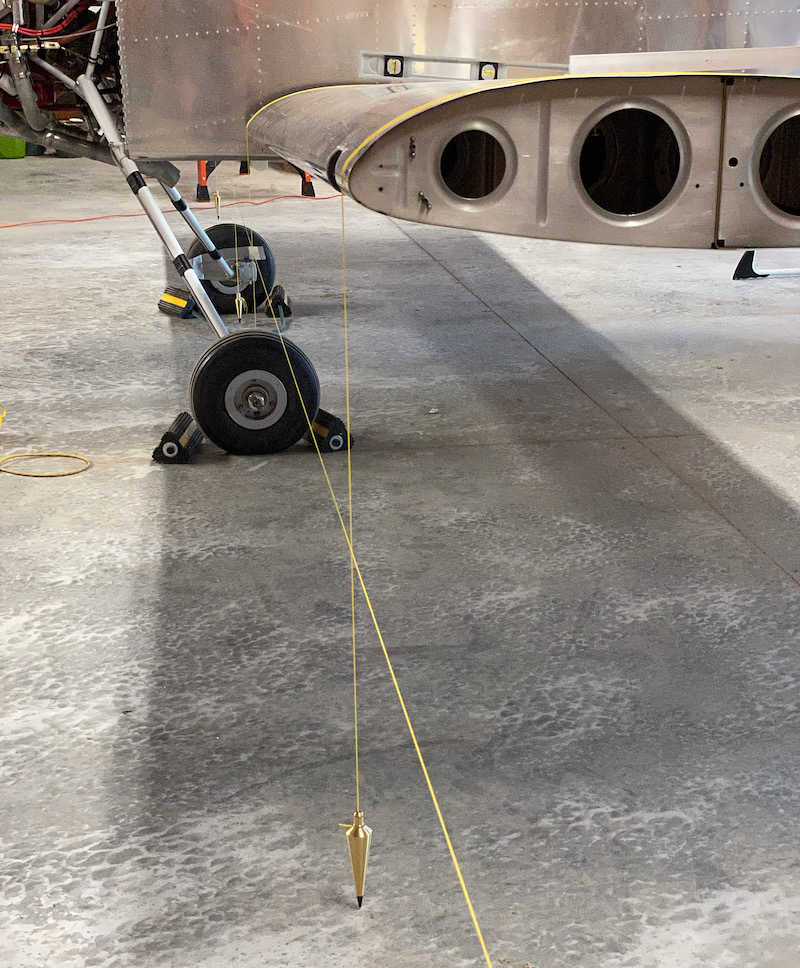
I basically followed the factory guidance to make sure the wings were aligned in various directions. Here I'm using a series of plumb bobs to check the sweep angle:
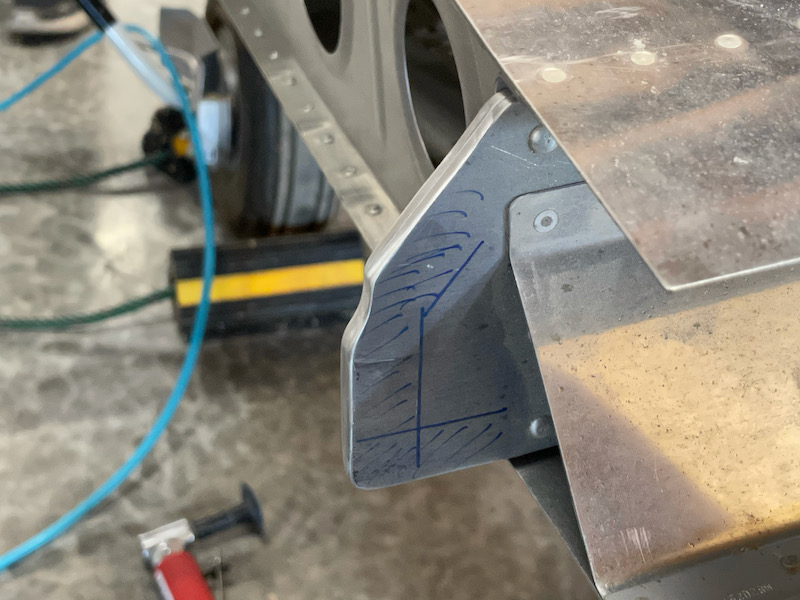
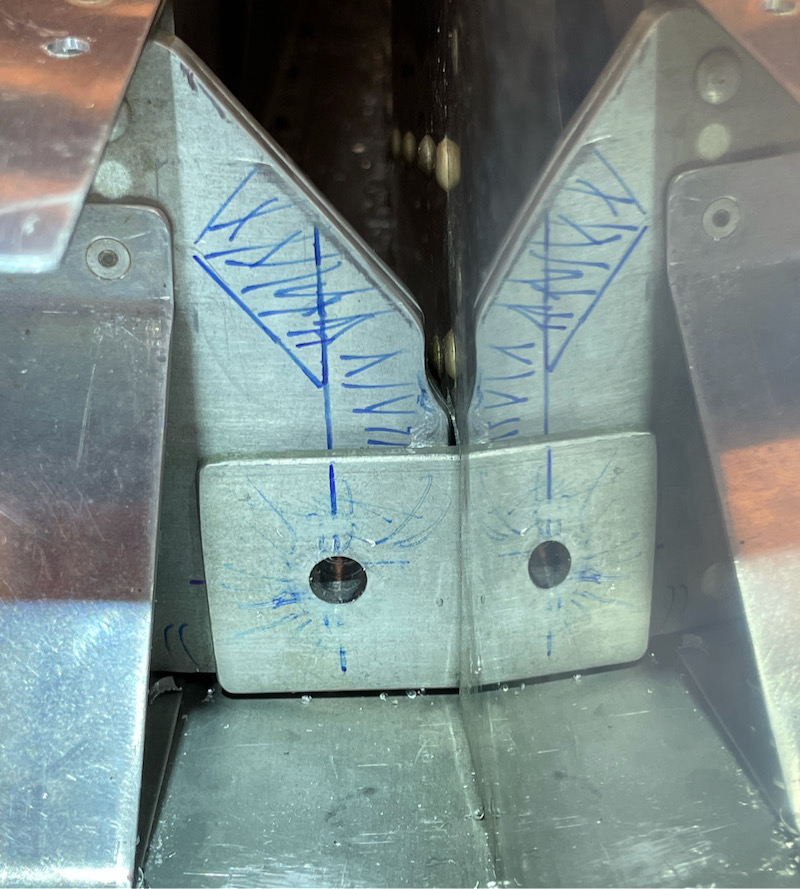
The initial fitting showed a small amount of forward sweep on both wings, and almost zero margin laterally for edge distance in the rear spar (notice how the vertical no-go lines here are almost on top of each other). The issue for both wings was that a single round-head rivet was preventing the wing from being inserted fully. I know this is a common issue, so if you're reading this before you build the fuselage, do yourself a favor and put a flush rivet there instead.
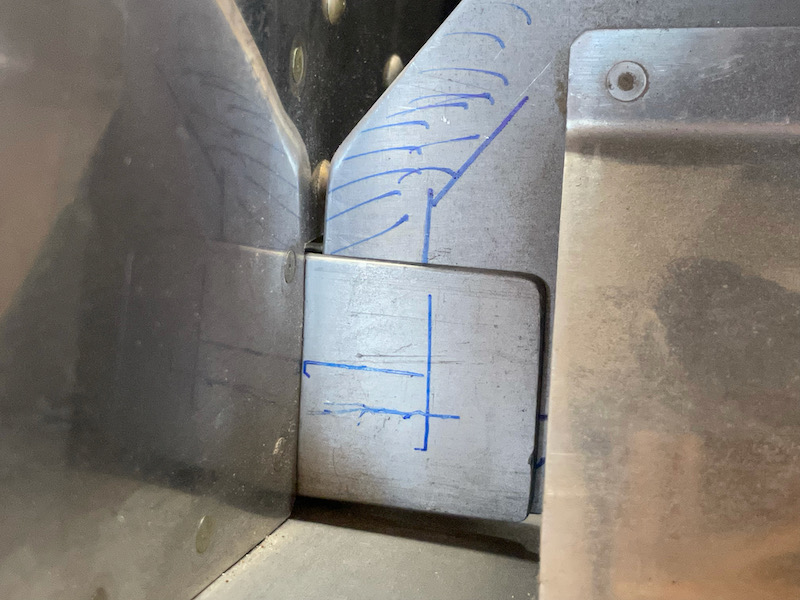
We then I removed the wings again and I ground a relief notch in each rear spar – fortunately no edge distance worries in this location:
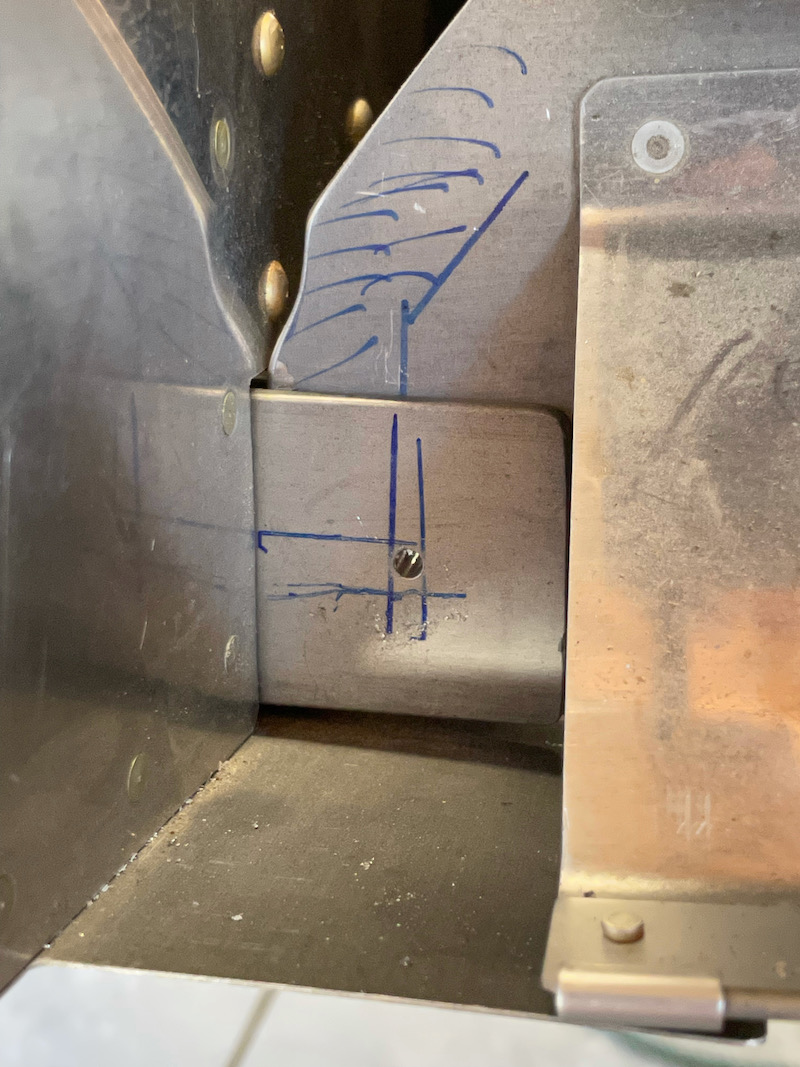
With the wings back on the fuselage, the rear spars can now be fully inserted, and the resulting sweep angle is essentially nil, a perfect result. And although the margin for edge distance still isn't huge, it's no longer zero:

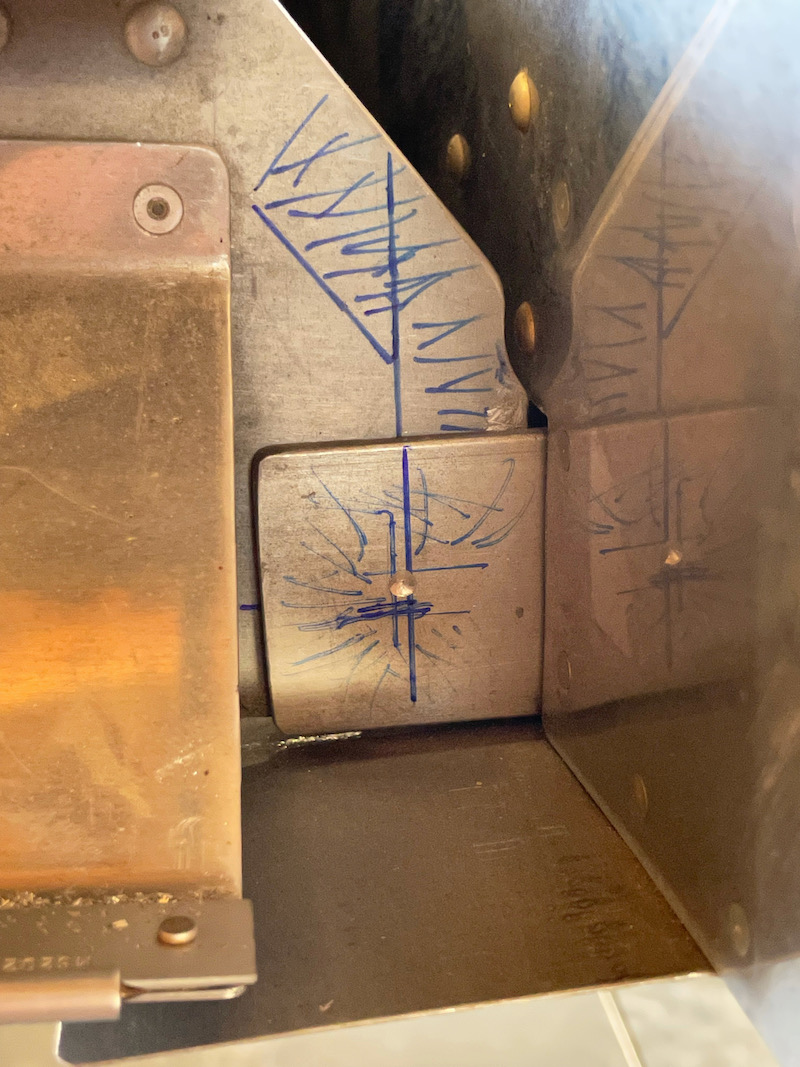
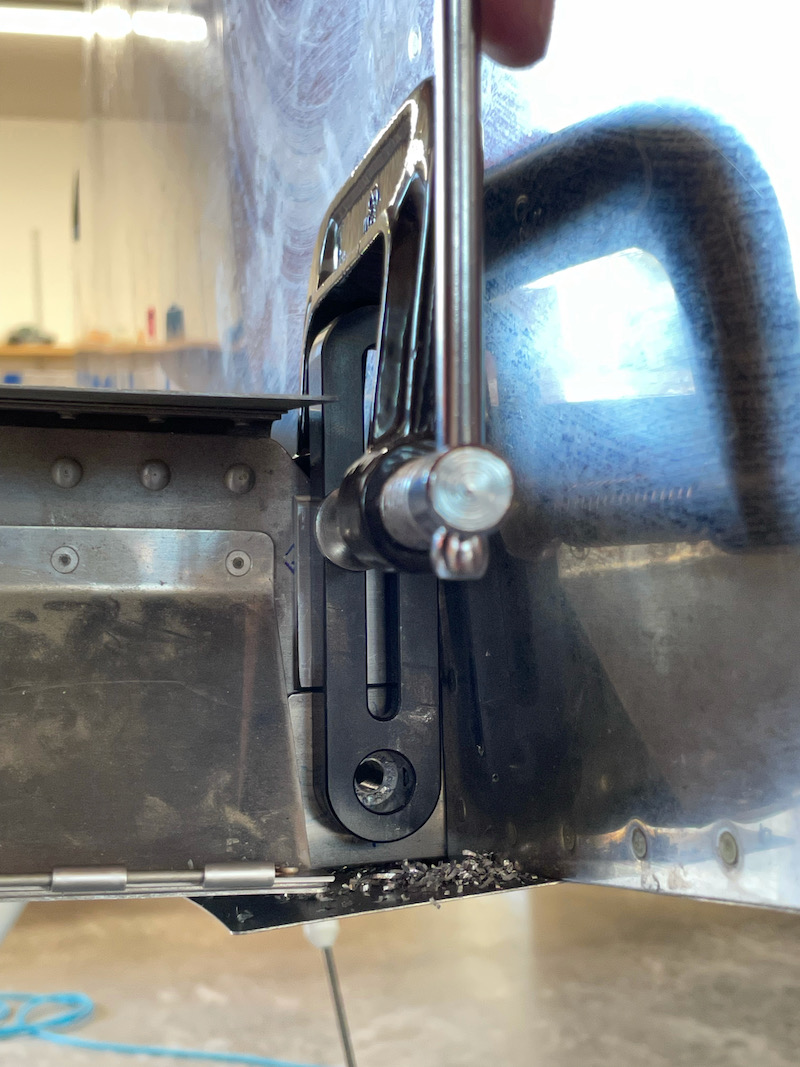
After thoroughly checking the wing incidence using the prescribed jig and a digital level, I took a deep breath and drilled a pilot hole for the rear spar bolt:
Moving over to the other wing, this is the procedure I followed for drilling these holes. After checking and re-checking the incidence and edge distance, I marked and center punched the hole location, then spot-drilled a divot in the desired location. This isn't a full through-hole, it's just deep enough to center the drill bit in for the next step.
Using the divot as a guide, I used a bit to center my drill jig, then clamped it in place. There's a 1/8" spacer in there to allow the drill jig to sit level.
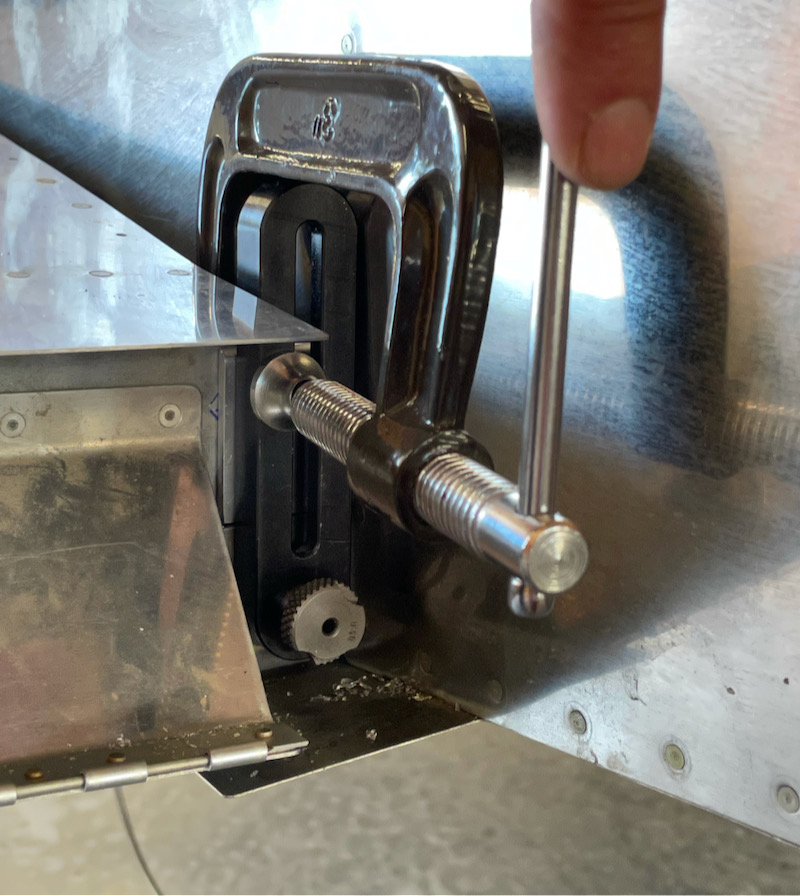
I drilled the initial 1/8" pilot hole, re-checked the edge distance, and then used progressively larger bushings to enlarge the hole without moving the jig. This resulted in a very straight and accurate hole.
The final drill size was a size N (.302") followed by a final pass with a .311" reamer.
The wings will have to come off at least once more before they get installed for good, and there's still a huge amount of work remaining, but it's wild to walk through the hangar and suddenly see the airplane looking properly airplane shaped!