Archive for May, 2008

Hose measuring

Sunday, May 4th, 2008

Matittuck included a hose to go from the mechanical fuel pump on the back of the engine up to the fuel injection servo on the front. Here I'm test fitting it to the fuel pump outlet, and I've clamped it to the #4 cylinder's intake tube with adel clamps to keep it away from the exhaust:
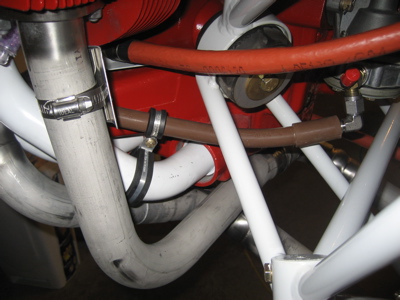
The clearance between the hose and the #3 exhaust pipe is not much more than an inch, but there doesn't seem to be anywhere else for the hose to go – the mixture bellcrank gets in the way.
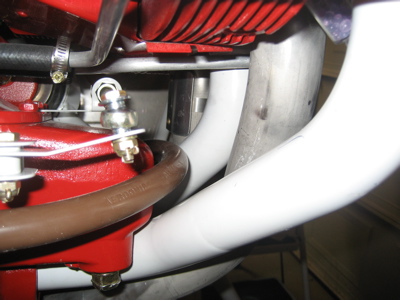
The included hose is too long by a couple inches (it's supposed to attach to the silver inlet port in the middle of the photo). I'll have to have a shorter one made up.
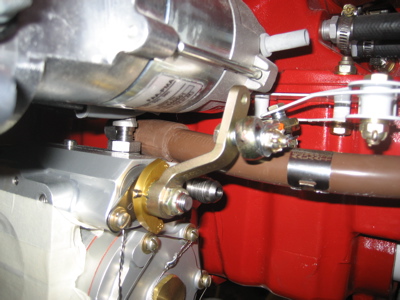
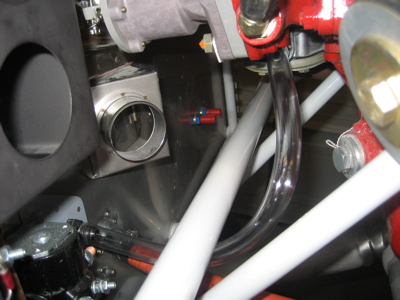
I bought some cheap plastic tubing from the hardware store and used it to measure for the other hoses I'll need to have made, without expensive guessing. Here's what the hose between the firewall and fuel pump inlet will look like:
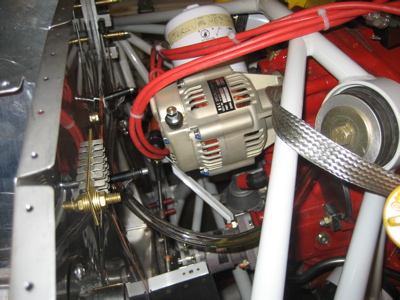
Only somewhat visible here is the mockup of how the oil pressure hose will go:
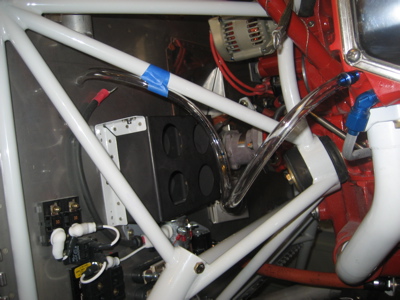
Here's the stand-in for the manifold pressure hose:
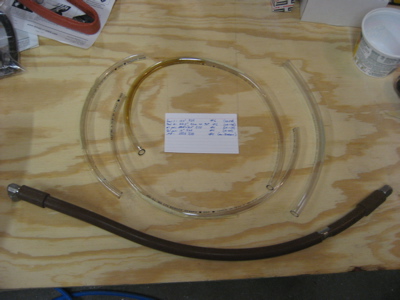
I ended up with templates and measurements for five different hoses (I forgot to take a picture of the faux fuel pressure hose).
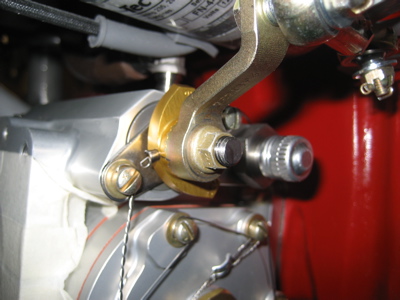
While I was messing around with the fuel servo, I replaced the nyloc nut on the mixture shaft with an all-metal locknut:
Alternator belt

Saturday, May 3rd, 2008

There's a bolt at either end of the alternator tension arm, both of which need to be safetied. Some folks use one long length of safety wire between the two bolts, but that seems like it would be a pain when the belt inevitably wears out (since you need to loosen the bottom bolt to replace the belt). I also didn't want to just loop safety wire around the arm itself, since it would eventually vibrate and dig a groove into the steel.

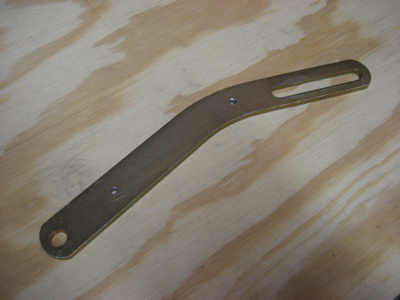
So, I came up with what I think is a clever way of safetying the two bolts… first I drilled a pair of #30 holes in the meaty part of the arm:

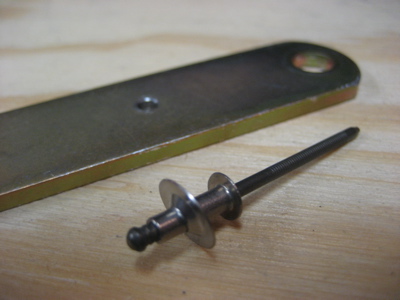
Then I grabbed some #4 steel tinnerman washers and 1/8" steel pop rivets:

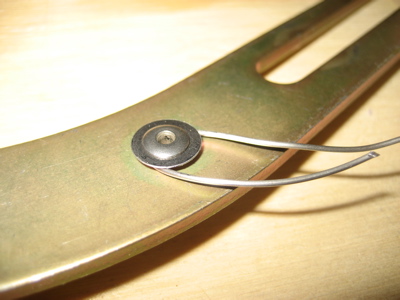
When riveted to the arm, the washer sits up above the surface just the right height to capture a loop of safety wire. The wire then bears on the steel pop rivet stem instead of wearing a groove in the arm.

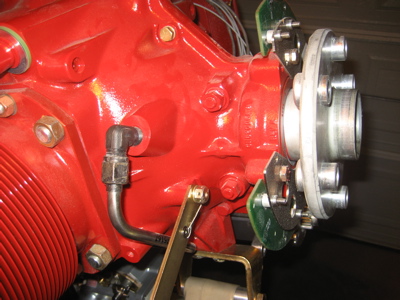
With the ring gear removed, it's pretty easy to safety the upper bolt.

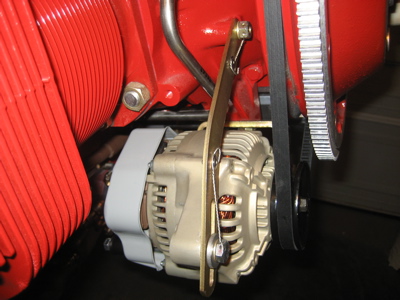
After putting on the belt and adjusting the tension, the lower bolt gets torqued and safetied in the same manner:

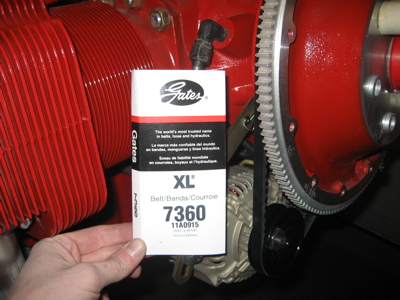
For future reference, the belt that seems to fit the best is a Gates 7360:

I tried a 7355 and it did fit, but it was very tough to install. I'll use the slightly longer belt unless I end up having clearance problems between the alternator and cowl.