Archive for October, 2006

Even more work on brakes

Saturday, October 7th, 2006

Okay, so I decided to tear out the Aeroquip hoses that I had going from the brake reservoir to the passenger's brakes and replace them with the stock nylon tubing instead. I couldn't find a way to anchor the top end of the Aeroquip hoses, and I was worried about broken fittings.

One interesting new skill required for working with the nylon tubing is inserting the brass ferrule in the end of the tube. I dunked my tubes in boiling water to soften them up (no, I'm not cooking meth here).
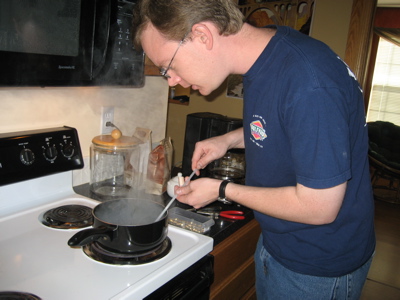
…then smashed the ferrules into place by pressing them down against a hard surface (in this case a pair of pilers that were handy).
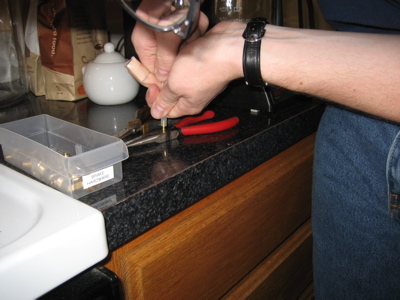
Here's my method for getting the brass sleeves in the compression fittings all the way down onto the end of the tube. First I start with the sleeve plus three of the brass nuts and a long socket:
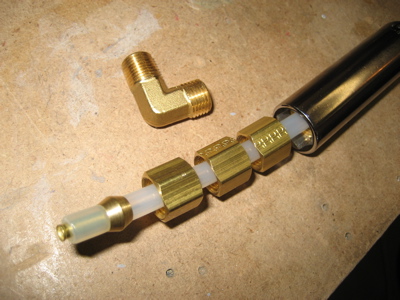
The long socket is used so there's enough grip area to turn it by hand, and the extra brass nuts are just used as spacers. Once you get it threaded, you can smash the brass sleeve into place by cranking down on the nut to force it home.
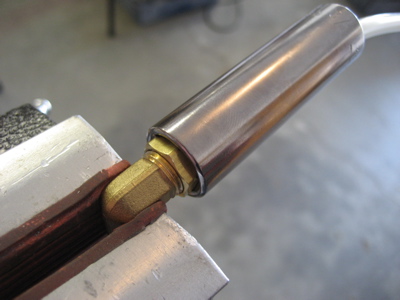
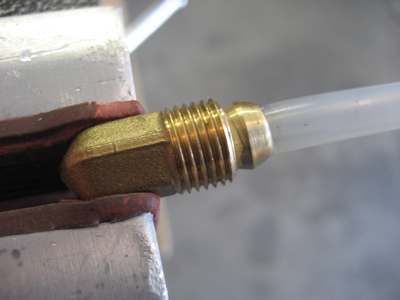
I suppose this method only works for one end of the tube, but that's all I needed here. At any rate, after you get it squashed into place, the sleeve sits in the cavity at the end of the angle fitting:
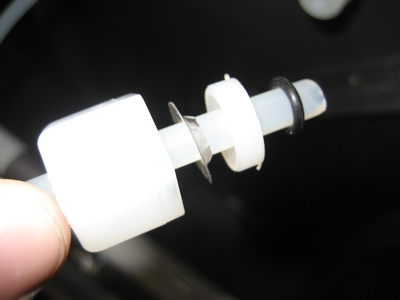
This is a photo to remind myself how the various pieces of the Nyloseal fittings at the top end go together. The same basic setup will be used elsewhere for the pitot/static lines:
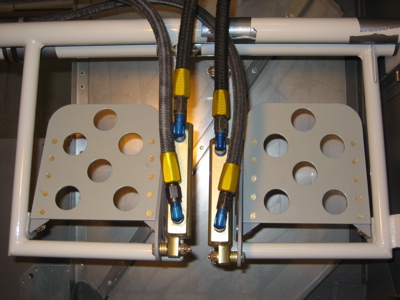
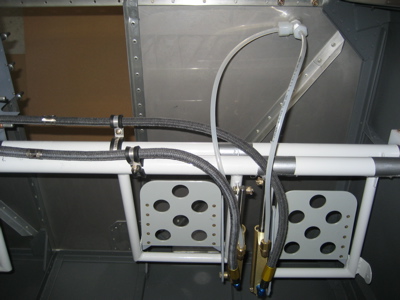
Here are the finished lines. I am keeping the Aeroquip lines that go between the passenger and pilot side brake pedals, since they look like they will work well. Still, this whole saga of playing around with alternate kinds of brake lines has been time-consuming and expensive. It's probably not worth it to deviate from the plans here after all, but now that I'm finished with I ain't changing back!
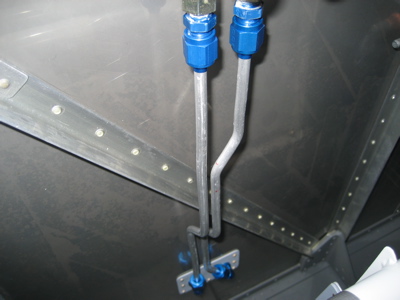
Next, I spent some time fabricating the rigid lines that go between the parking brake valve and the firewall fittings. This took some bending artistry – luckily it came out very nicely:
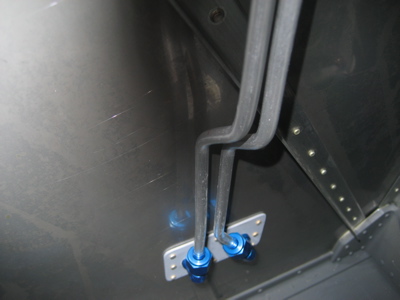
Here's another shot of the bottom end. The right-hand brake line jogs to the left so that it won't get in the way of the pilot's right brake pedal.
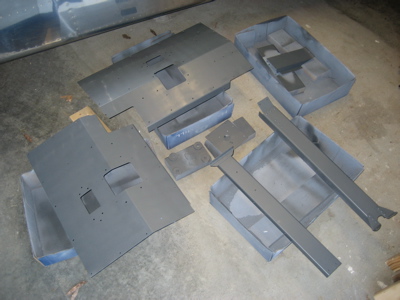
After that, I primed and painted another batch of interior parts. It was a little windy outside to paint, but in Kansas you don't get many days that aren't.
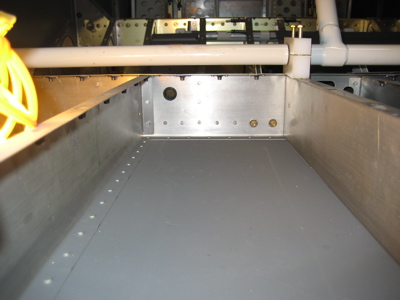
I also drilled a hole for a snap bushing in the left side of F-705, symmetrical to the other one I installed on the right side for the power supply. This one will be for antenna wiring and also for my ELT, which I think I'll probably end up putting on the floor aft of the pilot's seat.
Received interior

Thursday, October 5th, 2006

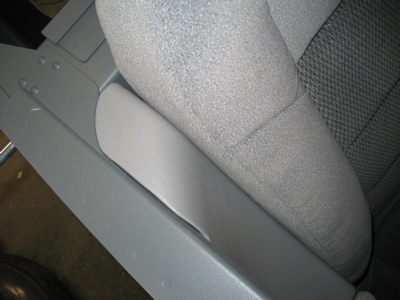
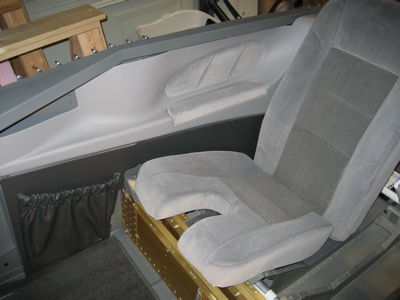
I came home from work tonight and there was a huge box from Classic Aero waiting on the front porch. So naturally I had to tear it open and put a few of the interior panels into the fuselage to see how they look. There are a bunch of pieces not installed here, and the ones that are in are just leaning there, not attached, but you get the idea:

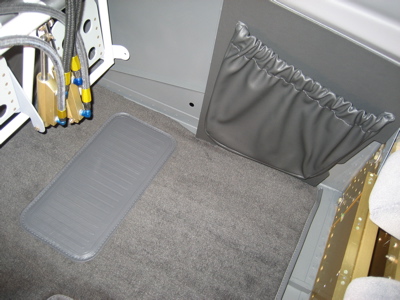
Awesome. Here's the cockpit carpet and one of the storage pockets. There's also some carpet for the baggage compartment.

The fit and finish is outstanding:

This stuff will all go into storage until I need it, but it's cool to have it around. It's also nice to see that my paint and interior colors go together pretty well.

More work on brakes

Wednesday, October 4th, 2006

I got the replacement brake master cylinder from Van's, so here it is all installed on the passenger's right-side pedal. The cotter pins are in, but all of the hoses are only finger tight until I finish playing with hose routing.

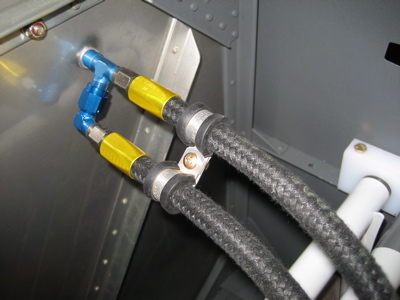
The hose from the brake fluid reservoir to the passenger's left brake tends to want to loosen the right-angle fitting when the pedals move. To solve this, I employed more adel clamps to keep the upper ends of these two hoses aligned with one another. No more problems.

I'm not totally convinced that the little aluminum tee in the above photo is strong enough to support the two hoses, though. I may have to revisit this area…

Mounted strobe power supply

Sunday, October 1st, 2006

This morning's mission: Make a home for the strobe power supply. Van's now has a mounting kit that's all nice and prepunched, but it's designed to fit on the fuselage sidewall behind the baggage bay bulkhead. This would probably be find for an -A model RV, but since the RV-7 taildragger likes to have weight up front instead of in the tail, I decided to make my own bracket so I could position the heavy strobe power supply further forward.

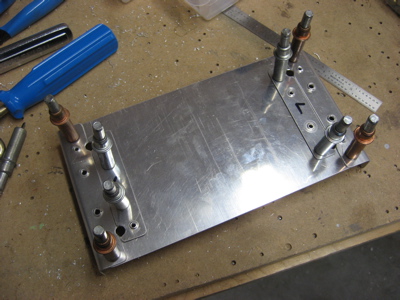
I started by fabricating the basic bracket, using material from my scrap pile:

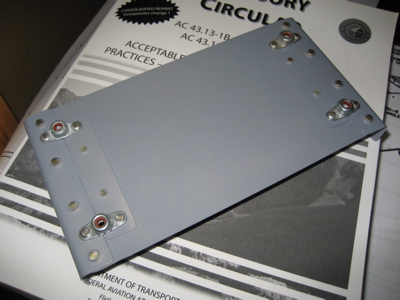
…which looks like this when riveted together. The rivets are all flush on the other side:

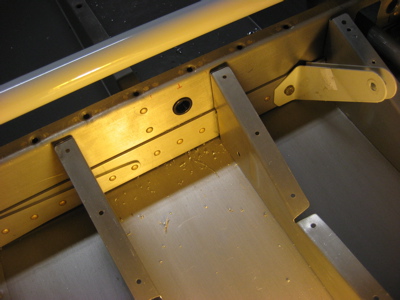
Then I drilled a 5/8" hole through F-705 and put a snap bushing in it. I'd previously checked with Van's to make sure an extra hole in this location would be okay. It avoids the rear spar reinforcing bars and all the rest of that structural stuff, and it has acres of edge distance.

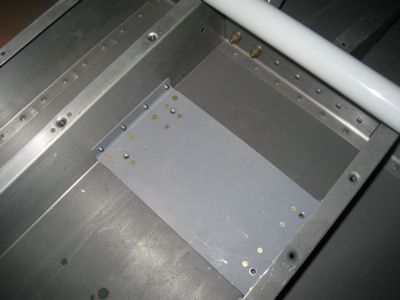
The bracket is blind riveted between two of the baggage floor ribs, adjacent to the center tunnel on the right side of the airplane. It's as far forward as practical so it won't move the CG too far aft – at least two feet forward of where Van's mounting kit would have put it.

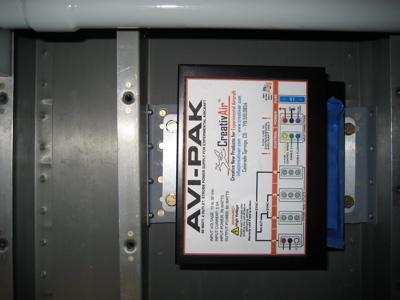
Behold, the strobe power supply is mounted. I used the CreativAir Avi-Pak, which is a drop-in replacement for the more expensive and heavier Whelen power supply. The blue tape is to prevent drill chips from getting onto the power supply's circuit board through the gap in the case around the connectors.

It's a straight shot from the snap bushing to the connectors. I love it when a plan comes together.