Okay, so I decided to tear out the Aeroquip hoses that I had going from the brake reservoir to the passenger's brakes and replace them with the stock nylon tubing instead. I couldn't find a way to anchor the top end of the Aeroquip hoses, and I was worried about broken fittings.
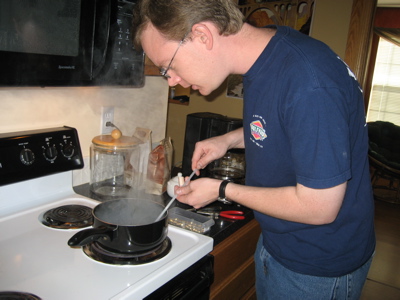
One interesting new skill required for working with the nylon tubing is inserting the brass ferrule in the end of the tube. I dunked my tubes in boiling water to soften them up (no, I'm not cooking meth here).
…then smashed the ferrules into place by pressing them down against a hard surface (in this case a pair of pilers that were handy).
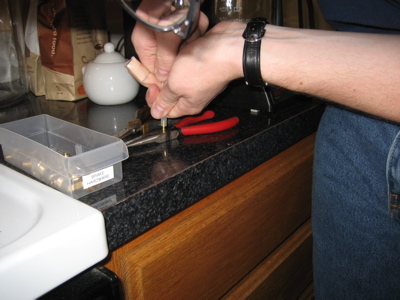
Here's my method for getting the brass sleeves in the compression fittings all the way down onto the end of the tube. First I start with the sleeve plus three of the brass nuts and a long socket:
The long socket is used so there's enough grip area to turn it by hand, and the extra brass nuts are just used as spacers. Once you get it threaded, you can smash the brass sleeve into place by cranking down on the nut to force it home.
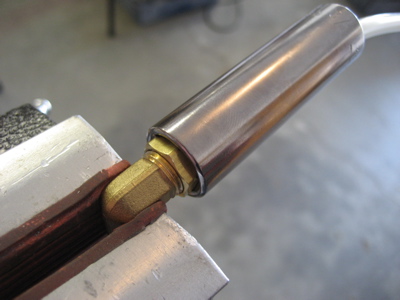
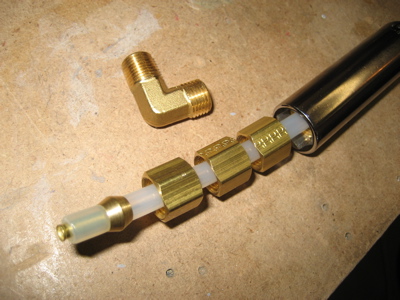
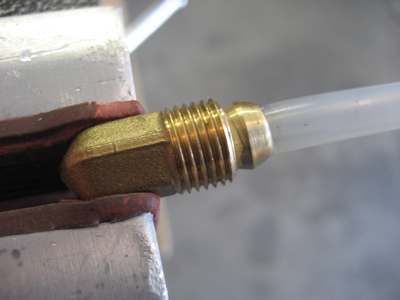
I suppose this method only works for one end of the tube, but that's all I needed here. At any rate, after you get it squashed into place, the sleeve sits in the cavity at the end of the angle fitting:
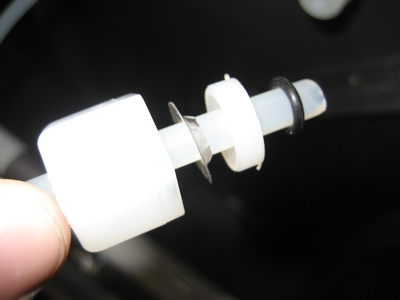
This is a photo to remind myself how the various pieces of the Nyloseal fittings at the top end go together. The same basic setup will be used elsewhere for the pitot/static lines:
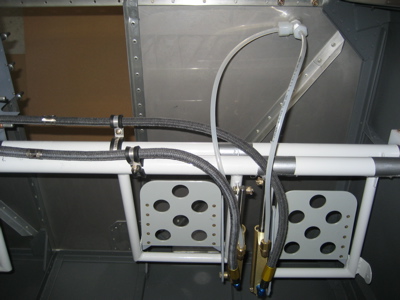
Here are the finished lines. I am keeping the Aeroquip lines that go between the passenger and pilot side brake pedals, since they look like they will work well. Still, this whole saga of playing around with alternate kinds of brake lines has been time-consuming and expensive. It's probably not worth it to deviate from the plans here after all, but now that I'm finished with I ain't changing back!
Next, I spent some time fabricating the rigid lines that go between the parking brake valve and the firewall fittings. This took some bending artistry – luckily it came out very nicely:
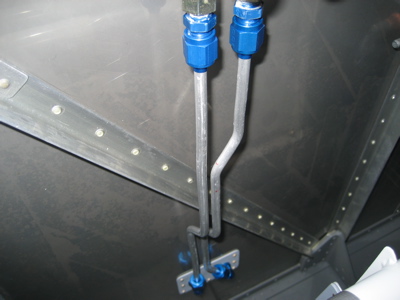
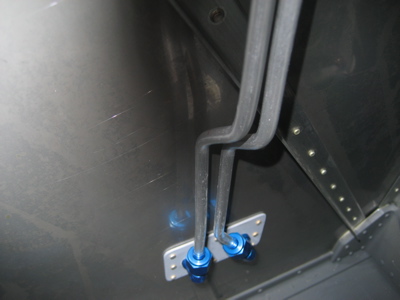
Here's another shot of the bottom end. The right-hand brake line jogs to the left so that it won't get in the way of the pilot's right brake pedal.
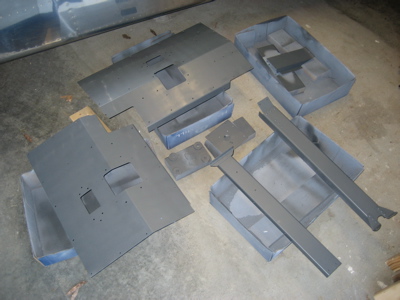
After that, I primed and painted another batch of interior parts. It was a little windy outside to paint, but in Kansas you don't get many days that aren't.
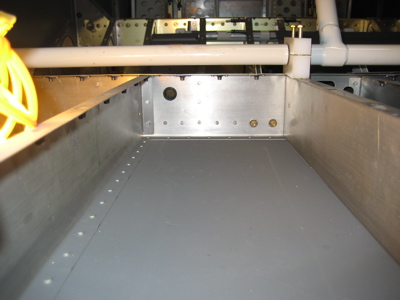
I also drilled a hole for a snap bushing in the left side of F-705, symmetrical to the other one I installed on the right side for the power supply. This one will be for antenna wiring and also for my ELT, which I think I'll probably end up putting on the floor aft of the pilot's seat.